Water-Damaged Battery Repair: A Human Approach
Introduction: Oh, the Joys of Water and Gadgets
So, I was just thinking about water-damaged batteries today. It’s kind of like that moment when you accidentally drop your phone in a puddle or, worse, the toilet. Ugh, I shudder just thinking about it. But hey, life happens! And when it does, we often find ourselves dealing with a battery that has seen better days—like my aunt’s little Sony camera from 2009 that she insisted on bringing to every family gathering, only to meet an untimely demise due to a spilled soda. Remember those wild parties? Anyway! water-damaged battery repair
Now, repairs can feel like some secret code—hard to decipher and a bit intimidating. So let’s break down this whole water-damaged battery repair thing together. Grab a coffee or tea (or maybe something stronger), and let’s dive into it.
Understanding the Problem: The Science (Sort of)
Okay, so picture this: your phone goes for an unplanned swim. That little circuit board? Totally unprepared for its bath time. When the battery gets soaked—whether from rain or your genius idea to take selfies by the pool—water seeps in, disrupting connections and causing all sorts of chaos inside that small plastic shell. Honestly, it’s kind of mind-blowing how delicate these things are.
A few years back—I remember it vividly—I was out hiking with my friends and it started pouring unexpectedly; like seriously heavy rain! My trusty old portable speaker was in my backpack… well, long story short, I had some epic tunes that night; until it decided to just stop working after getting drenched. That’s kind of how a battery feels after water exposure – shockingly unreliable!
Signs of Damage
Now you might be wondering: “How do I know if my battery is truly wrecked?” Well! Here are some clues:
-
Swelling: If your device looks like it’s packing on extra weight—especially around the edges—like a lumpy marshmallow at summer camp? That’s not good.
-
Corrosion: Take a peek at the terminals! You may spot white chalky stuff; that’s corrosion saying “Hello!” which typically indicates long-term damage.
-
Liquid residue: Spot any strange moisture under your screen? Yikes. If you see any fluid pooling up there—that’s major red flags waving all around.
Just remember that batteries can sometimes behave erratically after even minor exposure; kind of like someone on caffeine who doesn’t know whether they’re hyper or crashed.
DIY Water-Damage Repair Tips
Okay! So let’s talk about what we can do—because honestly there’s nothing more satisfying than rescuing something from the brink of death (you feel me?).
What You’ll Need
First up—gather supplies! You’ll need some isopropyl alcohol (the higher proof the better), cotton swabs (or toothbrushes if you’re brave!), some patience because oh boy—you’re gonna need it—and maybe some snacks? Can’t repair batteries on an empty stomach!
Step 1: Disconnect Power
This might seem obvious but I’ve definitely forgotten before – disconnect any power source immediately! Seriously, get that battery outta there before it turns into an unfortunate science experiment right before your eyes.
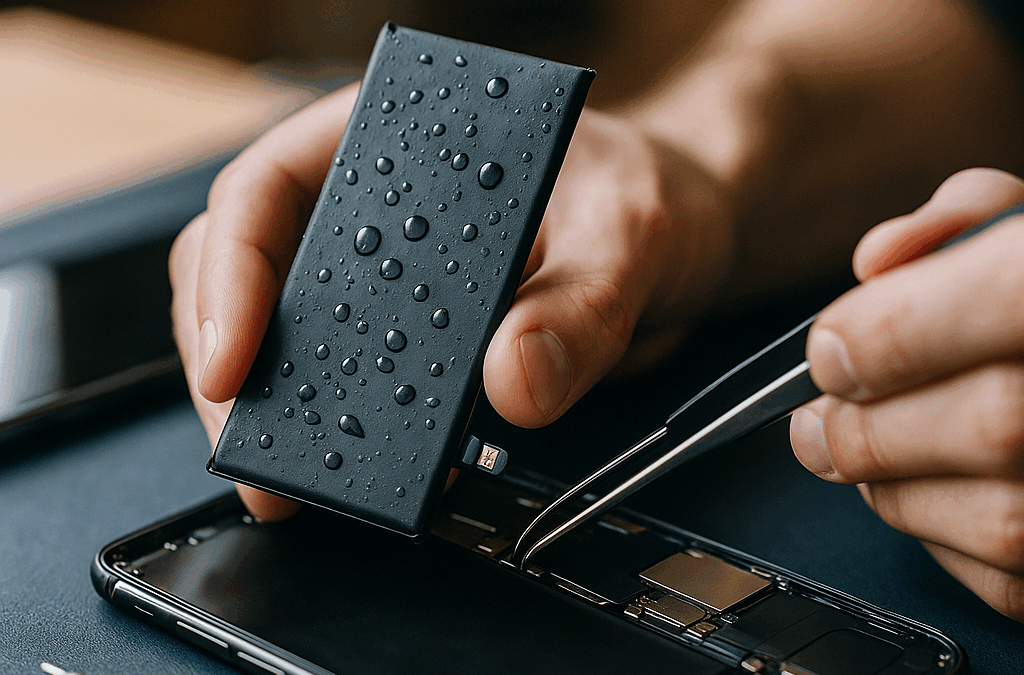
Step 2: Dry It Out
Now comes the waiting game; probably not everyone’s favorite part since our world thrives on instant gratification these days. Pat dry what you can with towels then let everything air out for hours. Some people put their gadgets in rice (that classic old wives’ tale) but I swear by placing them in a bowl full of silica gel packets—the little packets in new shoes—that stuff is magic!
Step 3: Clean It Up
Get ready for your deep clean session! Soak those cotton swabs in alcohol (don’t drink it!) and gently swipe over corroded contacts or terminals making sure everything is as spotless as possible.
While doing this step makes me think… back in college I found an old Gameboy hidden beneath my bed—it was totally water-damaged but survived miraculously with a little love from alcohol swabs…and patience while playing Pokémon for hours again!
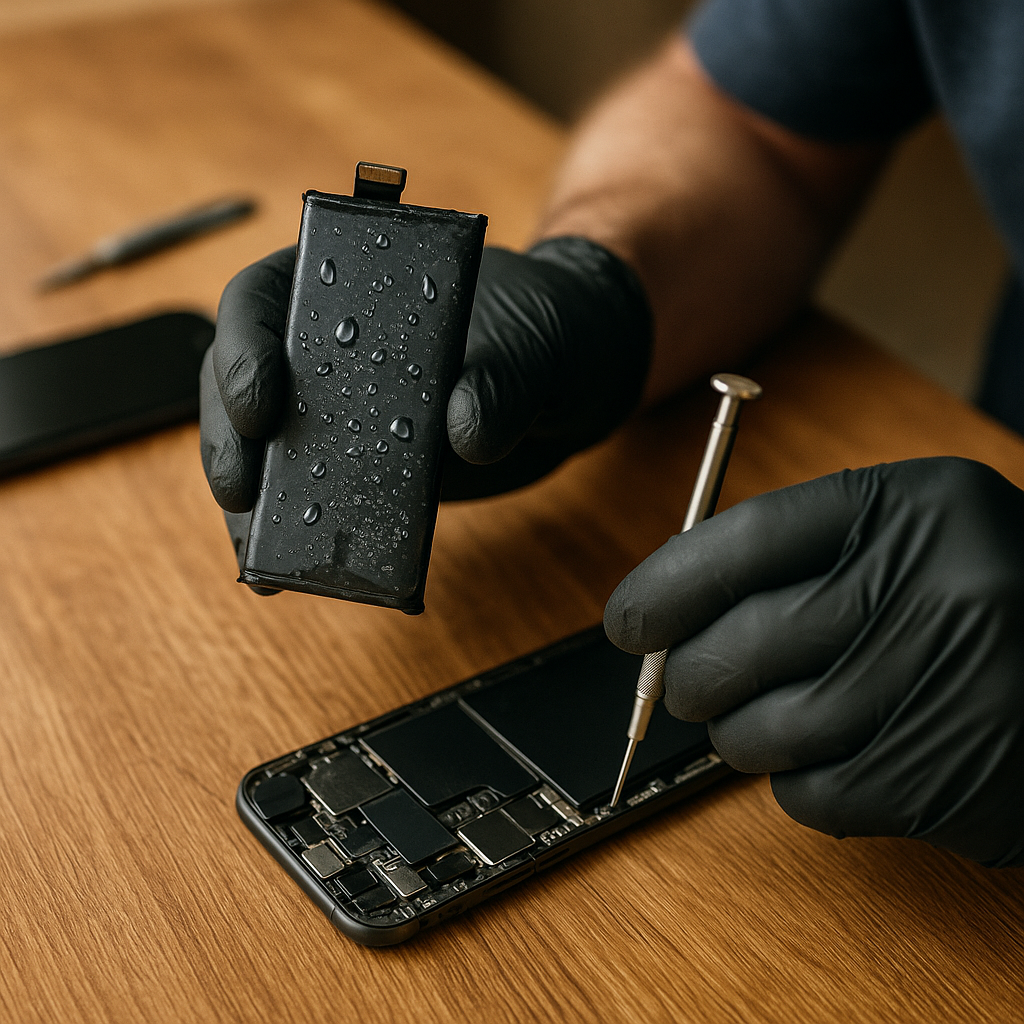
Step 4: Reassemble & Test
After waiting forever (okay fine, maybe just overnight) reassemble everything carefully and test if it charges properly! Fingers crossed here—the pure joy or sheer disappointment vibes are real; trust me.
Professional Repair Options
So let’s be real for a sec…not everyone is handy with tools or has time for these shenanigans—in those cases calling up professionals may save you time and potential heartbreak over broken electronics.I mean there are places specifically designed to do this stuff; kinda amazing if you ask me! Just search “battery repair near me” and get ready for mixed reviews—but also hope!
Some places may even give advice instead of outright replacing components—it could be valuable if they don’t charge astronomical prices; oh gosh did I mention how expensive repairs can be?
Conclusion: The Aftermath
In conclusion—or whatever—we live in this crazy tech-driven world where gadgets have feelings too… sort of? Dealing with water-damaged batteries can be frustrating and annoying but also oddly rewarding when things work out again! Even when they don’t—at least we tried right?
Anyway! So whether you choose the DIY route or just take it easy and hire someone else—it all starts with understanding what went wrong when that unexpected splash happened while taking selfies by the beach.
And oh man next time just invest in one waterproof case—you’d thank yourself later for sure! Or maybe I’ll learn… at least that Gameboy made it through somehow which gives me hope for my future gadgets too!
Happy repairing out there—I hope you have less chaotic adventures than mine!
FAQs About water-damaged battery repair
What should I do immediately after my battery gets water-damaged?
If your battery has been exposed to water, the first step is to disconnect any power source as quickly as possible. Remove the battery from your device to prevent further damage. This will help stop electrical shorts and other issues caused by moisture. After that, gently dry the battery with a towel and leave it to air out for several hours, ideally in a bowl of silica gel packets or rice.
How can I tell if my battery is truly damaged after water exposure?
There are several signs to look for to determine if your battery is damaged. First, check for swelling; if the battery appears puffy or deformed, that’s a clear sign of trouble. Second, inspect the terminals for corrosion, which often appears as white residue. Lastly, watch for any liquid residue under your device’s screen, as this can indicate internal damage.
Can I repair a water-damaged battery myself?
Yes, you can attempt DIY repairs on a water-damaged battery if you’re comfortable with it. Gather some supplies like isopropyl alcohol and cotton swabs. Disconnect the power source immediately, dry off the battery gently, clean corroded areas with alcohol-soaked swabs, and let everything air dry thoroughly before reassembling. Just keep in mind that results vary based on the extent of the damage.
What materials do I need for DIY water-damaged battery repair?
To attempt DIY repair on a water-damaged battery, you’ll need isopropyl alcohol (the higher proof, the better), cotton swabs or small brushes for cleaning, and patience. Additionally, having snacks nearby might help during the waiting periods! It’s important not to rush through this process as thorough drying is essential for success.
How long should I wait after cleaning a water-damaged battery before testing it?
After cleaning a water-damaged battery and allowing it to dry out, it’s best to wait overnight before reassembling and testing it. This gives enough time for any remaining moisture to evaporate completely. Patience here is key—testing too soon may lead to further complications.
When should I consider professional help for water-damaged battery repair?
If you’ve attempted DIY repairs but are still experiencing issues or if you’re not comfortable handling electronic repairs yourself, it’s best to seek professional help. Professionals have specialized tools and expertise in assessing damage and repairing batteries safely—making it worth considering especially if you value your device.
What are common causes of water damage to batteries?
Common causes of water damage include dropping devices into pools, sinks, or toilets; exposure to heavy rain while using devices outdoors; or even spills from drinks like soda that can seep into gadgets. These situations typically lead to moisture entering compartments where batteries reside.
Is it safe to use rice for drying out my water-damaged battery?
While placing devices in rice is a common old wives’ tale for absorbing moisture, using silica gel packets may be more effective because they are designed specifically for this purpose. However, if rice is all you have on hand at the moment it can still help in absorbing some moisture from your device temporarily.
What types of devices commonly have water-damage issues with their batteries?
Devices that commonly experience water damage leading to battery issues include smartphones, portable speakers, digital cameras, tablets, and laptops. Any gadget that may come into contact with liquids during daily use is at risk when exposed without adequate protection.
Will my warranty cover repairs for a water-damaged battery?
Most warranties do not cover damages caused by liquid exposure since they generally regard such instances as user negligence. It’s advisable to read your warranty terms carefully or check with the manufacturer directly regarding their policies on liquid damage.
Are there preventative measures I can take against water damage to my devices?
Yes! The best preventive measures include investing in waterproof cases or pouches especially when engaging in activities near bodies of water. Additionally, keeping beverages away from electronics and ensuring proper storage during rainy conditions can significantly reduce risks associated with liquid exposure.